Labs - Set up
For initial set-up, you will need to create an folder sdm-labs and then create an RStudio project in that folder. Then every day, when you work on the tutorials, you will copy the tutorial into that folder. That copy is what you can alter, save and render (create html).
Set up a new project
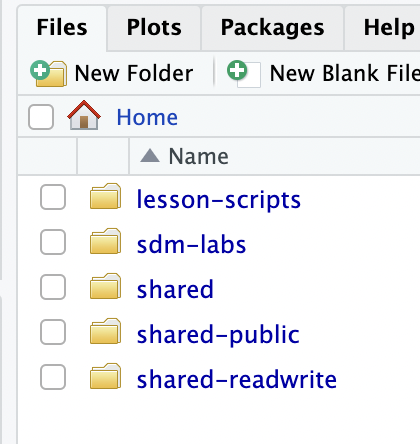
You will need to create a directory called sdm-labs in your home directory. You home directory is called home/jovyan. Navigate there and then click the New Folder icon and create sdm-labs.

Create an RStudio project at the sdm-labs directory. Go to
File > New Project > Existing directory
Then navigate to the sdm-labs directory and create the project.
Create a data folder
Within the sdm-labs directory, also create a folder called data. You will store data there.
Returning to your project
When you reopen RStudio, it should go to the last project that you had open. But if not you can select the sdm-labs project by click the “blue cube” dropdown in the top right and selecting the sdm-labs project.
Copy the lab into the sdm-labs directory
The R tutorials are in the folder r-tutorials in the shared/2023-Hackbook directory. You can open the lab we are working on in that directory and run the code, but you will not be able to save your work. There are 2 ways you can save your work.
Open file and save when ready
You can work in the file in the r-tutorials directory as long as you don’t “Render” the document. If you try to do that, it will complain that you do not have write permission.
So you work in the file and run code with the “Run” icon and then when you want to save, use File > Save As. Then navigate to your \home\jovyan\sdm-labs directory and save there.
Save the file first
- Navigate to the
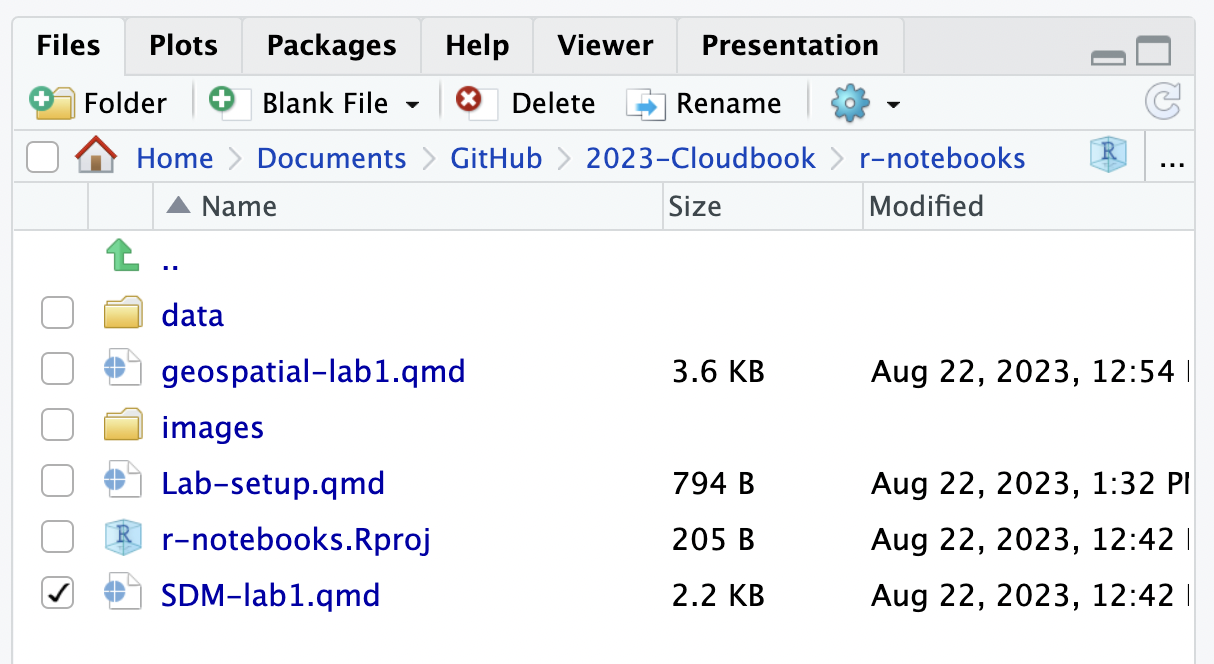
r-notebooksfolder - Select the file you will be using by clicking the check box
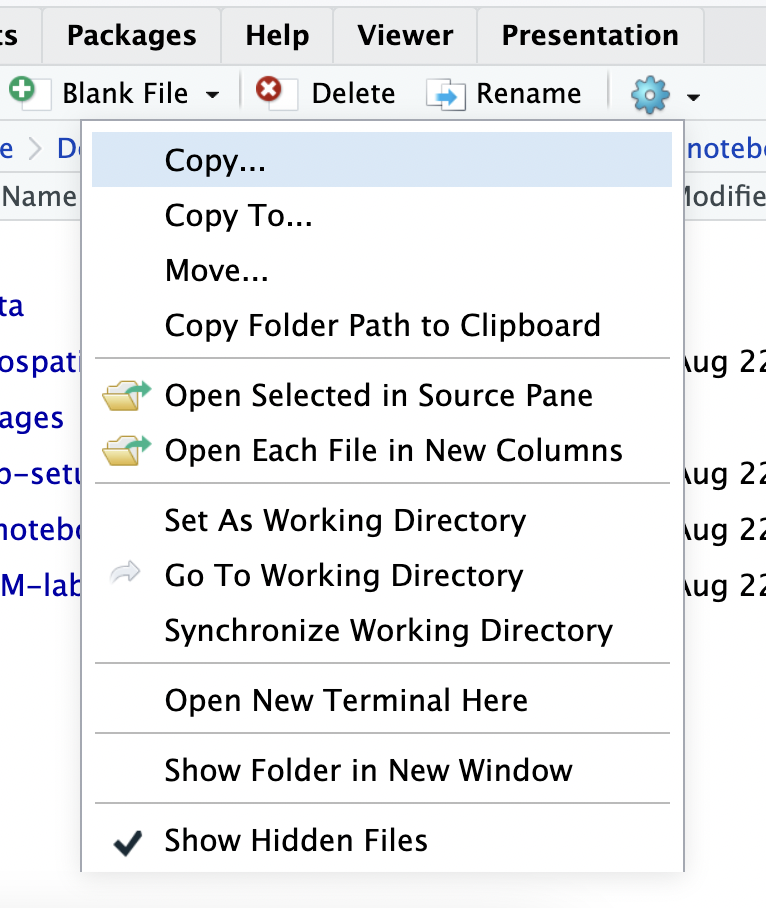
 * Click the Cog icon and select “Copy to” * Copy to to your
 \home\jovyan\sdm-labs directory.

Now navigate to the sdm-labs folder and open the file.


